A couple of weeks ago I mentioned that I was returning to my first love of knitting scarves or shawls. I have had a few experiments between then and now, and I thought you might be interested in how I create my designs, so here you have:
How to Design A Knitted Scarf – My Design Process….
First Design Decision – Shape
One of my big design features I like to use is to start off with a small amount of stitches and grow the work with increases. Why? I hear you ask…
Well, if I start off with a set width, let’s say at the bottom of a scarf, then I get started and think – is this really the width I want? Do I like the width? Often I will decide no I don’t and rip it out and start again, having taken my tension measurements. I will then do some maths to work out how many stitches I want once more and try again.
BUT if I start off with a small amount of stitches and use increases to shape the work, I can keep going until I have the width I want, I don’t need to work out tension or make a swatch. Lazy but it works for me!
I may need to rip back a little if the gradient of the slope isn’t what I like but basically when I start knitting I am starting on the real thing.
If you are not sure what I mean, here is a photo of the start of a scarf I am working on. I will increase to the width I want, then work a straight section and then decrease back to a few stitches. Now let’s move onto Step 2 of How to Design A Knitted Scarf.

Second Design Decision – Edges & beginning Stitch Pattern
In the example above you can see I have used a GORGEOUS edging which I found curtesy of Maryna of 10 rows a Day fame. She has some great videos. I usually decide on my edging first! Maybe weird but I think it is so important in a scarf.
I am not a fan of garter stitch borders, so am always on the lookout for different edge stitches. This one is an icord edge, knitted as you go.
There are a couple of ways to make an icord edge but this is one of my favourites and Maryna shows how to work it (along with other edges) in this video.
The centre stitch is garter stitch with one increase every four rows. I started with stocking stitch but much prefer the look of garter stitch with this edging. And now for Step 3 of How to Design A Knitted Scarf.
Third Design Decision – Straight Section Stitch Pattern
Once I reach the width I want, I will be changing to a slip stitch pattern, with the same edging, and working this section in two colours.
I love the designs which can be achieved with slip stitch knitting – it’s such an easy way to add colour to your work. Again this may be laziness, but what’s not to love about only using one colour every two rows to create intricate designs WITHOUT having to swap colours mid-row or strand yarns across the back of your work…
My straight section will not be very wide. I struggle to wear big triangular shawls as I like to tuck my scarf under the neck of my coat rather than wear it outside. I guess it is more of a neck warmer than a scarf!
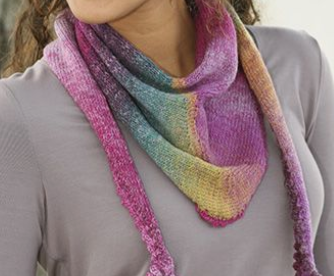
Here is an idea of the sort of shape I am aiming for – nice and simple…
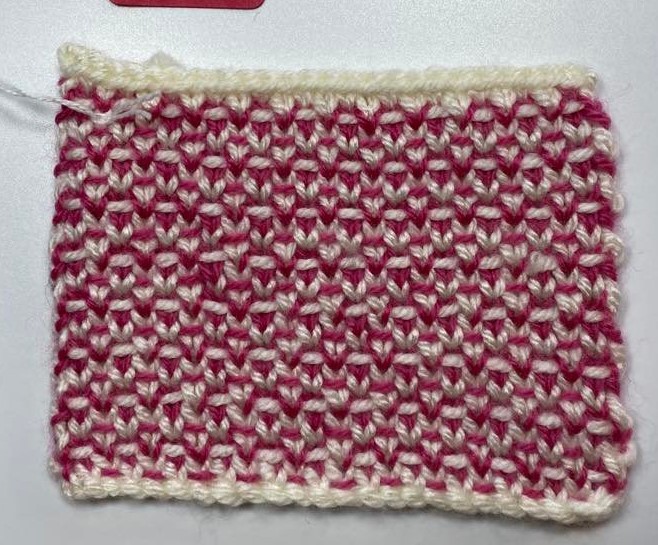
And here is a half linen slip stitch pattern which I may use in the centre section.
I have a YouTube video showing how to work this lovely stitch pattern here…
The rest is easy…..
After I have finished my central section I will decrease at the same rate as I increased, to create the top point. DONE !
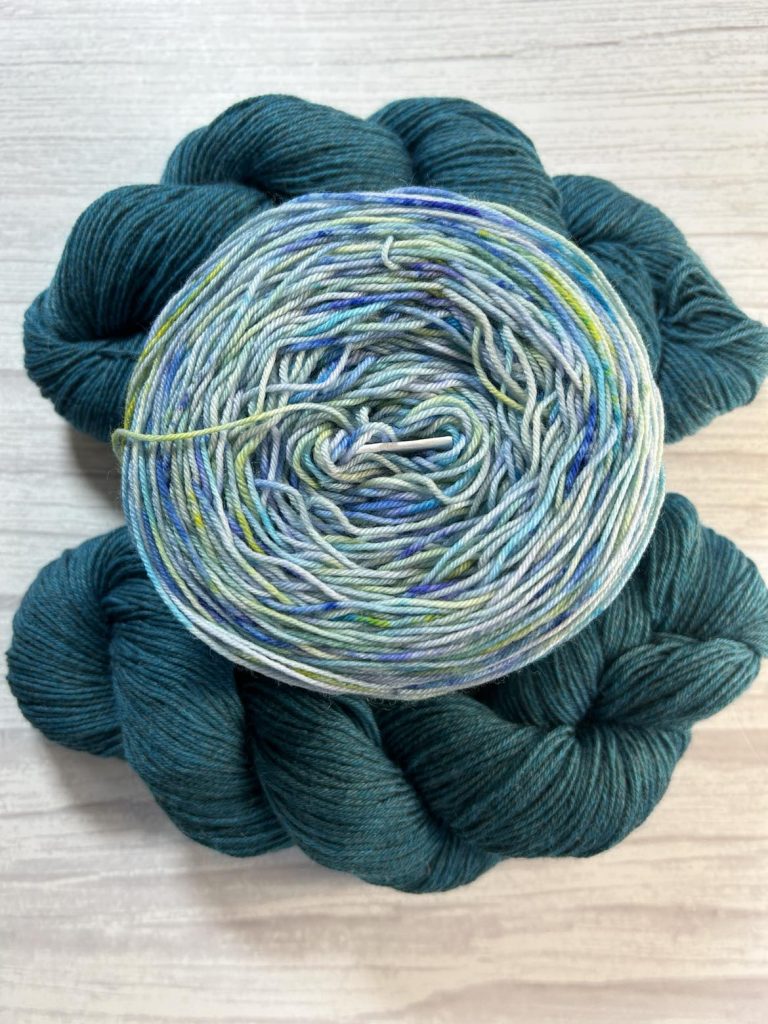
In terms of the yarn I am using, I have 2 balls of sock yarn as I much prefer to work with fine yarn. What do you think of these colours – aren’t they fab!
Why not tell me how you like to design? Thanks for reading, Carol