This week I have been working on some crochet top designs for a large yarn company. I can’t tell you who yet, but I can share my preparations with you. Here are the steps I go through when working on garment design for knitting or crochet.
Swatching and Blocking
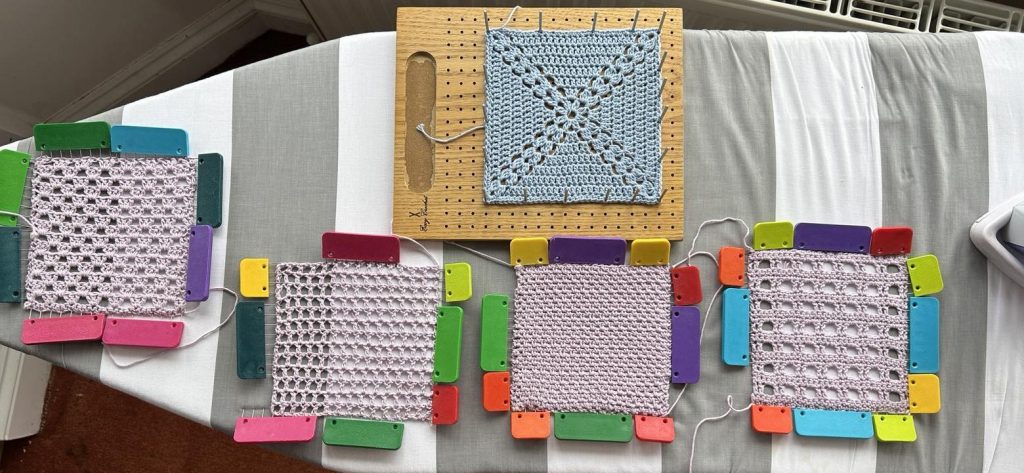
My first step after having agreed the designs to be made from my sketches, is to make swatches of the stitch patterns which will be used. I measure them pre-blocking to get stitch and row counts, size of the swatch and weight. I then block them and take all these measurements again.
This second set of tension information is what I will use to do the calculations for the pattern and then grade it to 9 sizes. My patterns will tell the maker what they need to aim for when making a swatch, blocking it and then measuring tension.
Now I know a lot of you will miss out this important step of making a swatch, but it really is the only way to get the garment to come out to the correct size for you as stated in the pattern. It is so much nicer to make and block a swatch than make a whole garment and then find it doesn’t fit.
Often blocking is needed to open up a lace type pattern as you can see in these stitch patterns.
Grading
As I mentioned ‘Grading’ above I should probably explain what I mean by that.
Grading is the process of coming up with all the various measurements needed for a garment pattern intended for multiple sizes, based on a sample size.
How do I know about grading? Well, I am a designer, but more than that I am actually a pattern writer for other designer’s & yarn companies (yes, often designers do not write their own patterns!), and so I have a lot of experience with grading.
So if you are a designer and want to create a garment pattern, you may well come up with a sample which is maybe based on your own measurements. How do you then take that and create multiple sizes of the pattern, so that it is size inclusive?
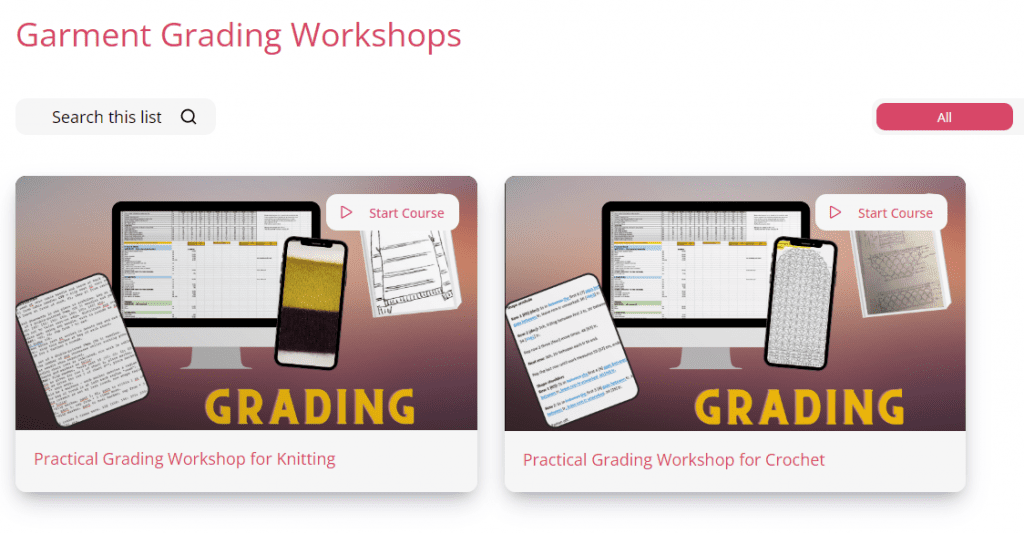
Well, if you want to know more about how to grade I have a practical online self-study workshop for you with a grading exercise on a real garment for you to work through.
My workshop comprises 3 main sessions split into short videos, where we take a sample specification and sample size for a garment and work through the process of how to create all the measurements for up to 9 sizes and then translate that into the stitch and row information ready to write the pattern. As part of this I provide my comprehensive body sizing tables for you.
I also give you various formulae to help work out the stiches and rows needed in shaped areas of a garment, for example set-in armholes, sleeves, neck shaping and so on. Once you have completed the workshop you will have the skills needed to write a pattern for multiple sizes.
Grading courses can be rather involved and having taken some myself I have found that they do not always give you the practical advice you need to get started, so that is what I aim for here – to get you up and running quickly. We use spreadsheets to follow the process through and you can follow the video sessions completely at your own pace.
Since I use a real pattern as an example to work though I have one workshop which uses a knitting pattern and one which uses a crochet pattern. The process of grading is the same for each.
Click on the image below to find out more!